Prep. Lesson 24. Same & different II
- Assorted percussion, small tent Difficulty:
 Prior learning: None
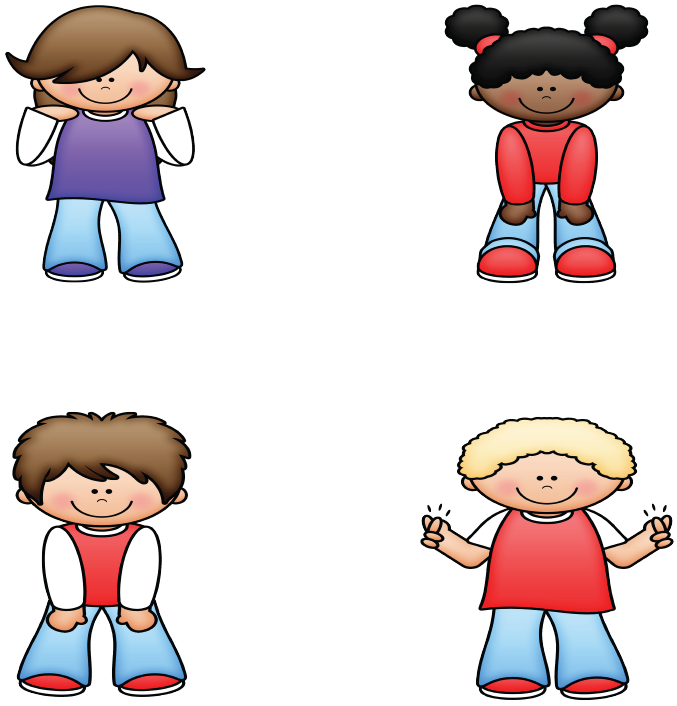
![]() Students will expand the concepts of same and different using movement.
Students will expand the concepts of same and different using movement.

- Begin with a steady 4-beat chant or clap. Students march around the room, stepping to the beat.
- Stop the marching and model an 8-beat body percussion pattern (e.g., clapping, tapping thighs, snapping, and stomping).
- Students copy the pattern exactly after observing.
- Choose a few students to copy your 8-beat body percussion patterns.
- The rest of the class observes and copies.
- After copying, ask, "Was the movement the same as or different from mine?" (The Answer: Same.)
- A student (leader) performs a 4-beat body percussion pattern.
- Call out either "same" or "different."
- If "same," the students copy the leader's pattern exactly.
- If "different," the students must create their own 4-beat pattern. After a few rounds, rotate the leaders.
- Discuss with the class: What was challenging about copying patterns?
- Was it easier to make up your own pattern or copy someone else's?
- How did you decide if the movements were the same or different?
 Success Criteria
- I can copy an 8-beat body percussion pattern accurately.
- I can identify whether a pattern is the same or different.
- I can create my own body percussion pattern when prompted.
![]() Students will practice distinguishing between the same and different actions while following instructions and participating in a group activity.
Students will practice distinguishing between the same and different actions while following instructions and participating in a group activity.
 Success Criteria
- I can copy shapes accurately when told "same."
- I can create my own shapes when told "different."
- I can participate in a circle activity and respond appropriately to instructions.
- Gather students in a circle and explain the rules:
- When I say "Same," everyone copies the shape.
- When I say "Different," no one copies. Students must create their own unique shapes.
- Stand in a shape (e.g., arms stretched wide, hands on hips, one leg raised).
- Say "same'. Everyone copies your shape.
- Change to a new shape, and again, everyone copies.
- On the third shape, say “Different,” and ensure students create their own unique shapes.
- Practice this pattern several times until students are comfortable with the concept.
- Continue leading the activity, alternating between “Same” and “Different.”
- Explain that now it’s the students’ turn to lead.
- The first student in the circle creates a shape.
- Call out “Same” or “Different.”
- If “Same,” everyone copies the shape.
- If “Different,” each student creates their own unique shape.
- Continue around the circle, giving every student a chance to lead.
- Finish with a slow stretch to calm the energy in the circle.
![]() Students will explore and identify non-melodic percussion instruments through sound and description.
Students will explore and identify non-melodic percussion instruments through sound and description.

 Success Criteria
- I can describe what I see when exploring an instrument.
- I can tell an instrument based on its description or sound.
- I can listen carefully and identify the sound of an instrument.
- Set up a small pop-up tent (the "Sound House") in the classroom.
- Place various non-melodic percussion instruments (e.g., tambourine, maracas, triangle, drum) in the music box near the tent.
- Gather students and remind them about the music box containing instruments.
- Explain the concept of the "Sound House." Today, students will explore instruments hidden inside the tent and try to guess what they are based on description and sound.
- Choose a student to go inside the Sound House.
- Instruct the student to look at the instrument inside but not play it.
- Ask them to describe what they see (e.g., its shape, size, or colour) without naming it.
- Other students guess what the instrument might be based on the description.
- The student inside the Sound House plays the instrument (a simple rhythm or sound).
- The rest of the class listens carefully and guesses the instrument again.
- Repeat the process with a new student and a different instrument for several rounds.
- After all rounds, bring out the instruments used and review their names and characteristics.
- Discuss with students: Which instrument was easiest to discover? Why? Which sound was the hardest to identify? What did you notice about the different sounds?
![]() Students will classify non-melodic percussion instruments into groups based on their material properties (wood, metal, or skin).
Students will classify non-melodic percussion instruments into groups based on their material properties (wood, metal, or skin).

 Success Criteria
- I can identify different percussion instruments.
- I can sort instruments into the correct categories (wood, metal, skin).
- I can explain why an instrument belongs to a specific group.
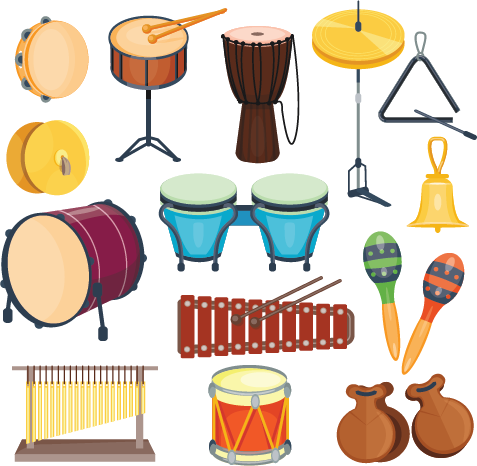
- Gather a variety of non-melodic percussion instruments (e.g., tambourine, drum, maracas, triangle, claves, cymbals).
- Place the instruments in the centre of the room where all students can see them.
- Explain to the students that instruments can be grouped based on the materials they are made from.
- Introduce the three categories.
- Wood: Instruments made of wood or primarily wooden parts.
- Metal: Instruments made of metal or primarily metallic parts.
- Skin: Instruments that produce sound by striking a stretched skin or membrane.
- Ask the students to sit in a circle around the instruments.
- Discuss one instrument at a time. Let students suggest which category they think it belongs to and why.
- Once agreed upon, place the instrument in its respective group (e.g., wood, metal, skin).
- Continue until all instruments have been sorted.
- Once sorting is complete, review the groups.
- What do all the wood instruments have in common?
- How can we tell an instrument is made of metal?
- What makes an instrument belong to the skin category?
- Ask students if they would change or move any instrument to a different group and why.
- Allow students to play one instrument from each group and listen carefully to how the sound changes between wood, metal, and skin instruments.
- Discuss how wooden instruments sound compared to metal or skin instruments.
- Are there similarities or differences in the way they are played?
![]() Students will explore and create soundscapes to represent different landscapes in a story.
Students will explore and create soundscapes to represent different landscapes in a story.
Ducky Lucky was a curious little duck who loved to explore. One sunny morning, she waddled through the farmyard, quacking happily.
She soon spotted some buzzing bees dancing around the flowers. "Hello, bees!" she said, watching them work.
Next, she found a sparkling pond. She splashed and played, feeling the cool water on her feathers.
But suddenly, dark clouds rolled in, and rain began to fall. "Quack, quack! Time to go home," Ducky Lucky said.
She hurried back to the warm, dry barn, snuggled into the straw, and fell fast asleep, dreaming of her adventures.
- Read "Ducky Lucky" to the students.
- Show students the five pictures showing the story.
- Pause to talk about the landscapes in the story (farmyard, bees, pond, rain, barn).
- Ask: What does each place sound like? Introduce the Concept of a Sound Story.
- Explain that they will create sounds for each part of the story to bring it to life.
- Farmyard: Clucking chickens, cows mooing, or a tractor.
- Bees: A buzzing sound with voices or a kazoo.
- Pond: Splashes, frogs croaking, or gentle ripples.
- Rain: Soft finger tapping for light rain or stomping for heavy rain.
- Barn: Rustling straw, quiet animal sounds, or a snoring duck.
 Success Criteria
- I can identify the landscapes in the story.
- I can suggest sounds to match each landscape.
- I can use my voice, body, or instruments to create sound effects.
![]() Students will collaborate to create soundscapes using instruments that represent the landscapes in the story of Ducky Lucky.
Students will collaborate to create soundscapes using instruments that represent the landscapes in the story of Ducky Lucky.
 Success Criteria
- I can work with my group to select instruments for each landscape.
- I can create sounds that match the mood and feel of the pictures.
- I can perform my group's sounds in time with the story.
- Divide the class into groups of five.
- Prepare pictures for each landscape in the story (Farmyard, Bees, Pond, Rain, Barn). The PDF viewer in the above section supplies these.
- Provide a variety of instruments, such as tambourines, shakers, drums, triangles, or even suggest body percussion.
- Give each group one picture (e.g., one group might get the Farmyard).
- Explain that they will create sounds for the landscapes shown in their pictures.
- In groups, students discuss what kind of sounds fit their landscapes.
- Guide them with questions: What does a farmyard sound like? (e.g., tambourine for chickens, rainstick for rain).
- How can we make buzzing sounds for bees? (e.g., shakers or vocal buzzing).
- Allow each group to explore and select their instruments. Then, have the groups practice the sounds for each picture and decide how and when to play their instruments.
- Encourage them to think about dynamics (loud/soft) and rhythm to match the story's mood.
- Gather all groups together. Read the story aloud. As each landscape is described, the corresponding group performs their soundscape for that page.
- Guide them to come in at the right time and adjust if needed.
- Discuss the experience: How did the instruments help tell the story?
- Were there any sounds you liked or found especially creative?
- How could we make it even better next time?
- Extension: Rotate pictures so groups create sounds for a different part of the story.
Suggested lessons
Y1. Beat II

Y1. Beat III

Y1. Beat IV

