Prep. Lesson 19. Different sounds
- Woodblock Difficulty:
 Prior learning: None
 Teaching children to differentiate sounds, including those made by instruments and the body, lays a foundation for understanding timbre or the unique qualities of sound. Students learn that metal instruments create ringing, resonant sounds, while wood instruments have warmer, tapping tones. Additionally, body sounds like clapping, snapping, stomping, and patting can produce a variety of tones: claps are sharp and loud, snaps are soft and quick, stomps are deep and resonant, and pats can be soft or strong. Recognising these different sound qualities sharpens listening skills, helping children identify and appreciate diverse sound textures in music.
![]() Students will learn how sounds are made by exploring different ways to produce sound on instruments, including plucking, shaking, striking, and bowing.
Students will learn how sounds are made by exploring different ways to produce sound on instruments, including plucking, shaking, striking, and bowing.
 Success Criteria
- I can describe how sound is made by plucking, shaking, striking, and bowing.
- I can identify which instrument creates sound through each method.
- I can participate by trying each instrument to experience the sound-making method directly.

- Explain to students that sounds can be made in different ways, such as plucking, shaking, and hitting.
- Using a guitar, ukulele, or similar plucked instrument, pluck a note and hold it so students can see the strings vibrate. Explain that the sound is made by plucking the string, which causes it to vibrate and produce a note. Show the plucking motion.
- Optionally, allow students to pluck a string gently to feel and hear how the sound is made.
- Pick up a shaker, cabasa, or similar percussion instrument and shake it to produce sound. Explain that shaking the instrument causes beads or objects inside to move, creating sound through their movement. Let the students listen carefully to the sound’s texture, and, if possible, pass the shaker around for them to try shaking it.
- Show the class a hand drum and strike it with a drumstick to make a sound. Explain that the sound is produced by hitting the drum’s surface, causing it to vibrate. Next, hit the drum with your hand and ask the students if they notice any differences in the sound between using a stick and a hand. Discuss how different ways of striking can change the drum’s sound, giving them a richer understanding of sound variation.
- Review each method with the class, reinforcing the terms: Plucking (guitar/ukulele), Shaking (shaker), Striking (drum), and Bowing (violin or similar).
- Ask the students to describe how each sound was created and, if possible, let them try each instrument.
![]() Students will develop an understanding of how different materials create unique sounds by exploring and describing the sounds they hear from the “Box of Sound.”
Students will develop an understanding of how different materials create unique sounds by exploring and describing the sounds they hear from the “Box of Sound.”

![]() Lyrics
Lyrics
Box of sound, Box of sound,
Shake it around. What have we found?
 Success Criteria
- I can describe the sound qualities I hear (e.g., soft, metallic, rough, rubbery).
- I can use the “Box of Sound” chant and keep in time with the beat.
- I can listen carefully and make guesses about the materials based on the sound they make.
- I can actively participate by sharing my descriptions and guesses for each sound.
- Begin by showing the class a small box and explaining that this is your “Box of Sound.”
Tell them you’ve placed different items in the box, each making a unique sound when shaken. Based on the sound, their job is to guess what’s inside. - Empty the contents of the first bag into the box without letting the students see.
- Tell the students that each sound is different and has clues. For example, it might sound metallic, rubbery, soft, or hard.
- Teach the class this chant, encouraging them to clap or tap the beat as they say it: "Box of sound, Box of sound, Shake it around. What have we found?"
- Practise the chant together a few times, keeping in time with the beat.
- After chanting, shake the box so the contents make a sound. Ask the students to listen closely and think about what they hear. Discuss the sound’s characteristics: metallic, soft, or crunchy.
- Invite them to guess what might be inside, considering the sound’s qualities.
- Empty the box, then fill it with contents from another hidden bag. Repeat the chant and shake the box, prompting the students to describe and guess the new sound. Encourage them to notice how each material creates a unique sound texture.
- After each sound, ask the class to describe the sound’s texture: Is it soft or hard? Does it sound smooth, rough, metallic, or rubbery?
- Let them describe the sounds in their own words, helping them connect sound qualities to different materials. After exploring several different sounds, discuss with the class how each item made a unique sound. Talk about how different materials create different sound textures, even when they’re all shaken the same way.
![]()
Students will explore the difference between metal and wood sounds by playing and listening to various classroom instruments.


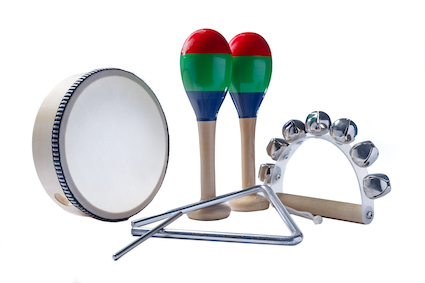
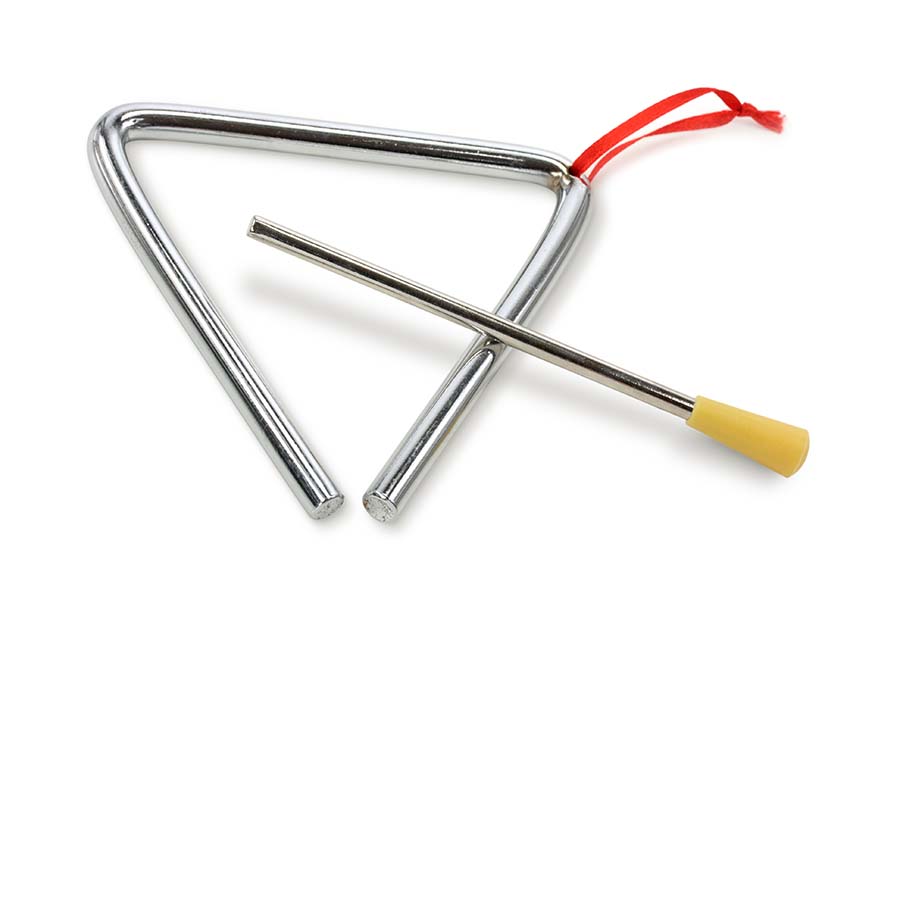
- Show the class a metal instrument (e.g., triangle or tambourine) and a wooden instrument (e.g., woodblock or claves).
- Explain that metal instruments make a bright, ringing sound, while wood instruments make a soft, tapping sound.
- Play the metal instrument first and say, “Listen to how it rings and lasts.”
- Then, play the wooden instrument and say, “Hear how it taps and stops quickly.”
- Play each sound again and ask, “Which is the ringing sound?” and “Which is the tapping sound?”
- Encourage them to point or respond with “metal” or “wood.”
- Divide the class into small groups and give each group one metal and wooden instrument.
- Let them take turns playing each instrument, listening to the ringing or tapping sounds.
- Ask questions like, “Which instrument makes a long sound?” and “Which makes a short sound?”
- Tap a rhythm on a metal instrument and have the students copy it.
- Then, tap a rhythm on a wooden instrument and have them copy it, noticing the sound differences.
 Success Criteria
- I can say which sound is made by a metal or wood instrument.
- I can describe metal as ringing and wood as tapping.
- I can play the instruments and hear the difference in their sounds.
![]()
Students will learn to explore and identify different sounds they can make using their voices and bodies.

 Success Criteria
- I can make a variety of sounds using my voice and body.
- I can describe sounds as soft, loud, high, or low.
- I can experiment with making sounds in different ways, noticing how each feels.
- Gather students and explain that they will explore the different sounds they can make with just their voices and bodies.
- Emphasise that both voices and bodies can make various sounds, each with unique qualities.
- Start with a soft whisper. Have students whisper a word or sentence and feel the gentleness of the sound.
- Demonstrate speaking softly, then loudly. Ask students to try both.
- Show them how to hum, allowing them to feel the vibration in their lips or throat.
- Make fun sounds like blowing a raspberry or a ghostly “ooooo” and encourage the class to join in.
- Clapping Hands: Have students clap their hands and notice the loud, sharp sound it makes. Experiment with soft and loud claps.
- Ask students to stomp their feet on the floor, noticing the sound it produces.
- Show students how to snap fingers, listening to the soft, quick sound it creates. (For students who may struggle with snapping, encourage them to rub their fingers together to still create movement without the snap.)
- Demonstrate patting thighs or knees and have students join, noticing how the sound changes when they pat lightly or firmly.
- Show them how to gently tap their chest, noticing the hollow, drum-like sound it makes.
- Ask students how each sound felt to make and how they would describe it. For example: “Was clapping louder than stomping?” or “Does humming feel soft or loud?”
- Discuss how some sounds are high and light (like snapping), while others are deep and loud (like stomping).
- After trying all the sounds, ask students which sounds they liked best. Encourage them to think about why certain sounds felt easier or more fun to make.
![]() Students will learn to identify and imitate different animal sounds, exploring pitch, volume, and vocal variety.
Students will learn to identify and imitate different animal sounds, exploring pitch, volume, and vocal variety.

 Success Criteria
- I can make a variety of animal sounds with my voice.
I can guess animals based on the sounds I hear.
I can match animal sounds with movements, transitioning between them quickly.
I can participate actively and listen closely to my classmates’ sounds.
- Begin by telling students that animals have unique voices, and they will explore these voices using their own sounds.
- Model some familiar animal sounds, one by one, and encourage the students to join in.
- Cat – “Meow”
- Dog – “Woof” or “Bark”
- Cow – “Moo”
- Sheep – “Baa”
- Duck – “Quack”
- Lion – “Roar”
- Emphasise vocal qualities like loudness (roaring for lions), softness (purring for cats), and short sounds (like a duck’s quick “quack-quack”).
- Go through each sound again, and this time, encourage students to match the pitch and loudness as they make each animal sound.
- Ask questions like, “Is this sound loud or soft?” or “Does the lion roar high or low?”
- Explain that you’ll play a guessing game called "Who’s Making That Sound?"
- Choose one student to come to the front and secretly assign them an animal. The student then makes that animal’s sound while the rest of the class guesses the animal. Rotate with other students.
- Pair each animal sound with a simple movement (e.g., crawling for a cat, flapping for a bird).
- Play a call-and-response game where you call out an animal, and the class makes the sound while also doing the movement that matches.
![]()
Students will begin to develop inner hearing by focusing on the transition from sound to silence, enhancing their auditory awareness.
 Success Criteria
- I can raise my hand when I hear the sound stop.
- I can use inner hearing to imagine when a sound will fade into silence.
- I can take turns listening and playing, focusing on sound and silence.
- I can describe the difference between sounds that fade slowly and sounds that stop quickly.

- Begin with a bell or resonant instrument (e.g., a chime or triangle).
- Ask the students to close their eyes and listen carefully as you strike the instrument.
- Instruct them to raise their hands when the sound becomes inaudible. This encourages them to focus on hearing the sound fade into silence.
- Play a woodblock to demonstrate a sound that ends abruptly, helping students understand that some sounds quickly lead to silence.
- Explain that each instrument produces a unique sound length, with the woodblock fading to silence faster than the bell.
- Repeat the exercise with the students raising their hands when the woodblock sound ends, emphasising the following moment of silence.
- Allow students to take turns playing the bell, woodblock, or another instrument.
- As each student plays, encourage the others to close their eyes, listen to the end of the sound, and raise their hands when they hear silence.
![]() The Piggles have fun with sound and silence!
The Piggles have fun with sound and silence!
Suggested lessons
Y1. Beat II

Y1. Beat III

Y1. Beat IV

