Prep. Lesson 14. Exploring Voices II
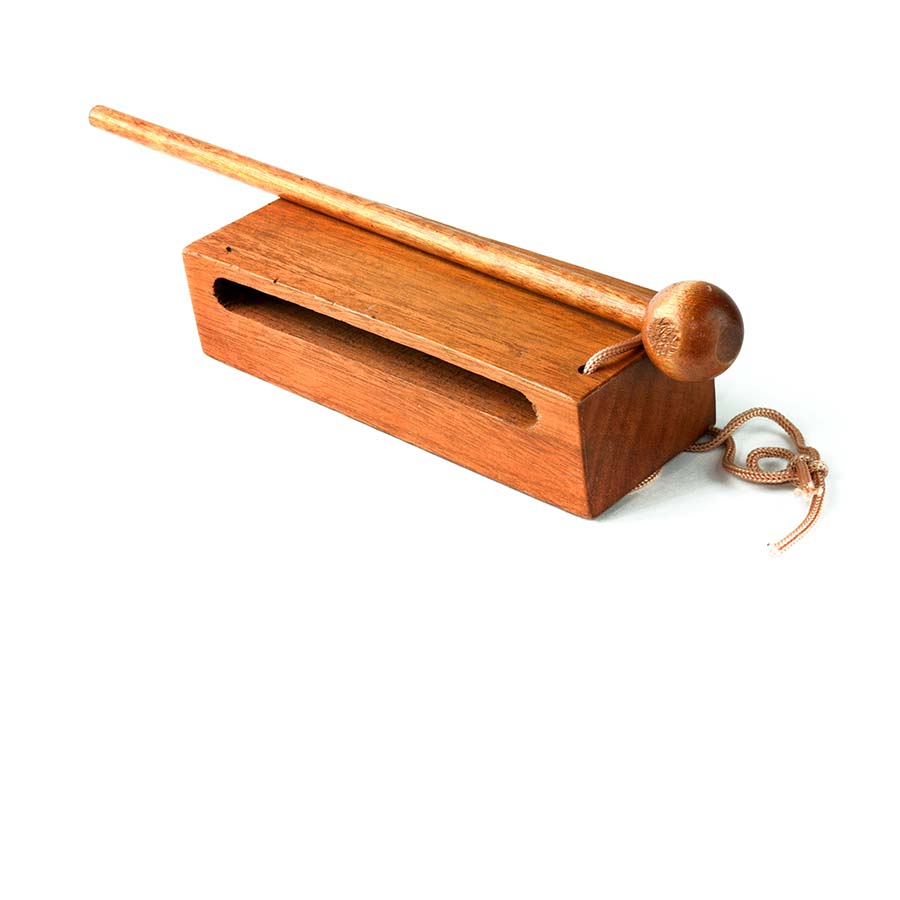
- Woodblocks, puppet Difficulty:
 Prior learning: Beat
![]() Students will explore the difference between speaking, whispering, calling, and singing voices and identify the unique qualities of the singing voice.
Students will explore the difference between speaking, whispering, calling, and singing voices and identify the unique qualities of the singing voice.
![]() Lyrics
Lyrics
Goodnight, sleep tight,
Friends will come tomorrow night.

- Use a puppet to introduce different types of voices. Present each voice with its associated action:
- Whisper voice: Finger on lips.
- Talking voice: Hands grabbing and opening.
- Calling voice: Hands cupped around mouth.
- Singing voice: Conducting hands.
- Model each voice and ask the class to echo you.
- Ask students: “Which voice is different? Why?”
- Teach that a singing voice is different because it has high and low sounds, while the others do not.
- Explain a chant doesn’t have high and low sounds.
- Chant the words to "Goodnight" slowly while keeping a steady beat.
- Have the class join in, ensuring they understand they are not singing but chanting.
- Ask: “What did you notice about chanting? Did it have high and low sounds?”
- Reinforce that whispering, talking, and chanting do not have high and low sounds—only the singing voice.
- Sing "Goodnight" together as a class.
- Ask students to compare the feeling of singing versus chanting the words.
 Success Criteria
- I can use and identify different types of voices: whispering, talking, calling, and singing.
- I can explain what makes the singing voice unique.
- I can chant the words of "Goodnight" and identify that it lacks high and low sounds.
![]() Students will learn and perform the song, explore dynamics through the use of their calling voice, and engage in a collaborative movement game.
Students will learn and perform the song, explore dynamics through the use of their calling voice, and engage in a collaborative movement game.
![]() Lyrics
Lyrics
Grizzly bear, a grizzly bear, is sleeping in a cave.
Please be very quiet, very, very quiet.
If you wake him, if you shake him, he gets very mad!
- Ask students what happens if we use our calling voice when someone is sleeping. Would it be loud or quiet?
- Explain we’re going to learn a song about a sleeping bear. But if you wake him up, he might shout ‘Rarrrr!’ loudly!
- Sing the "Grizzly Bear" song for the class.
- Teach it line by line, having students repeat after you.
- Once students know the melody and lyrics, sing the whole song together.
- Ask all students to lie down in a space around the room as "sleeping bears."
- Explain the rules: The teacher will march around the room, singing the song and gently tapping one sleeping bear.
- The tapped bear wakes up and shouts, “Rarrrr!” using their calling voice.
- The woken bear joins the teacher and marches around, singing the song and tapping another sleeping bear.
- Continue until all students are awake and the song is fully embedded.
- Discuss the difference between the calling and singing voices during the game.
- Ask: "How did we use our voices to wake the sleeping bears? Why was the calling voice important?”
 Success Criteria
- I can sing the "Grizzly Bear" song confidently.
- I can use my calling voice to say "Rarrrr!" at the right moment.
- I can participate actively in the game by marching, singing, and waking the sleeping bears.
![]() Students will engage in a collaborative circle activity to sing, practice dynamics, and perform coordinated movements on the beat.
Students will engage in a collaborative circle activity to sing, practice dynamics, and perform coordinated movements on the beat.

 Success Criteria
- I can sing the song quietly while marching on the beat.
- I can move carefully toward the sleeping bear and respond to the dynamics of the activity.
- I can participate actively and take turns being the bear in the middle.
- Tell the class we will play a fun game with the ‘Grizzly Bear’ song. One of you will be the sleeping bear, and the rest of us will quietly sneak around them. But if the bear wakes up, be ready to run back to your spot!
- Briefly review the song "Grizzly Bear" and sing it together until secure.
- Arrange the class in a circle and choose one student to be the sleeping bear.
- The sleeping bear lies down in the middle of the circle.
- The rest of the class stands evenly spaced around the circle.
- Instruct the class to turn to the left and sing the song quietly while marching clockwise on the beat.
- After eight beats, have the class turn and march anticlockwise while continuing to sing quietly.
- On the line “Please be very quiet,” the class stops marching, takes small steps toward the sleeping bear, and pretends to shake them gently.
- When the bear wakes and shouts “Rarrr!” loudly, the students quickly return to their original spots in the circle.
- Repeat the process with a new sleeping bear.
- After each round, discuss how we used quiet singing and careful movements to sneak up on the bear. Why was the beat important?”
![]() Students will develop their ability to play instruments to a steady beat while exploring dynamics.
Students will develop their ability to play instruments to a steady beat while exploring dynamics.
 Success Criteria
- I can play my instrument to the beat quietly while singing the song.
- I can follow the dynamics by gradually getting louder at the right moment.
- I can play a single loud sound on cue during "Rarrrr!"

- Gather students in a circle and explain that we’ll play our instruments to match the beat of the Grizzly Bear song. We’ll start very quietly and get louder until we make one big loud sound on ‘Rarrrr!’
- Hand out shape drums, tambours, or wood blocks to each student.
- Remind and demonstrate to students good playing techniques, asking them to hold their instrument carefully and play it gently to stay together as a group.
- Instruct students to begin playing their instruments quietly to the steady beat while singing the song together.
- On the line “If you wake him,” guide students to gradually increase their volume.
When they reach the word “Rarrrr!”, have everyone play a single loud note together. - Repeat the activity a few times to reinforce the importance of keeping a steady beat, playing quietly at first, and gradually increasing the volume.
- Offer gentle remedial feedback to improve timing and dynamics as needed.
- Ask students: “How did it feel to play quietly and then get louder?” “Why is it important to listen to each other when playing louder?”
- Praise their ability to follow the dynamics and stay together on the beat.
![]() Students will practise singing high, low, and middle notes while using movement and a stretchy band to physically represent pitch.
Students will practise singing high, low, and middle notes while using movement and a stretchy band to physically represent pitch.
 Success Criteria
- I can sing high, low, and middle notes accurately.
- I can move the stretchy band to show the pitch of the notes.
- I can work with my classmates to keep the stretchy band steady and follow the pitch changes.
![]() Lyrics
Lyrics
I can sing high. I can sing low.
Now I'm in the middle, and I don't know where to go.
My voice goes here!
- This activity combines pitch recognition, singing, and group coordination using a stretchy band to reinforce high, low, and middle sounds visually and physically. It’s interactive, engaging, and reinforces earlier learning in a fun way!
- Tell students we will sing a song called ‘I Can Sing High’ and use a stretchy band to show the high, low, and middle sounds.
- Introduce the stretchy band (or hebi ring) and explain the movements:
- High sounds: Lift the band high in the air.
- Low sounds: Lower the band to the floor.
- Middle sounds: Hold the band at hip level.
- Sing the first part of “I Can Sing High” while demonstrating the movements: Raise the band for high notes, lower it for low notes, and hold it at the hips for middle notes.
- Use a 'singing' puppet to add engagement and demonstrate how it follows pitch with its "singing voice" and movements.
- Have the students hold the stretchy band in small groups or one large circle.
- Sing the song again, guiding them to move the band high, low, and middle in time with the pitch.
- Encourage students to listen carefully to the notes and adjust their movements to match.
- Let students try the activity as a group without your guidance.
- Observe and offer feedback as needed to ensure they match the pitch accurately with their movements.
- Ask: “How did you know when to hold the band high, low, or in the middle?” and “Did the stretchy band help you understand the different pitches?”
![]() Students will explore pitch by using their voices to follow high and low sounds while connecting pitch changes to physical movements.
Students will explore pitch by using their voices to follow high and low sounds while connecting pitch changes to physical movements.

 Success Criteria
- I can follow pitch movements with my voice when the teacher draws in the air.
- I can use my body to show high and low sounds while singing.
- I can lead the activity by drawing shapes in the air for the class to follow.
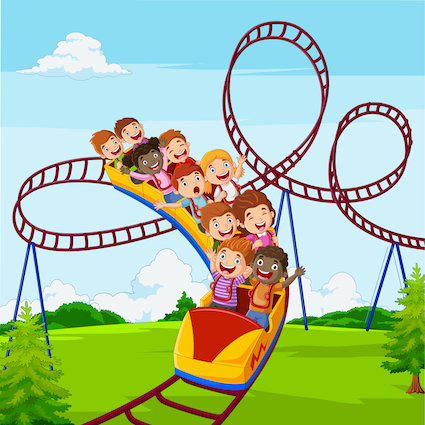
- Gather students and explain the activity. “Today, we will use our voices like a roller coaster! When the roller coaster goes high, we sing high notes. When it goes low, we sing low notes.”
- Model the concept with your finger: Slowly paint a shape in the air with your forefinger (up for high, down for low).
- Sing a continuous “ooh” or “ahh” sound to match the pitch as your finger moves.
- Invite students to copy your movements: Draw simple lines first (e.g., up, down, straight across).
- Students match the pitch with their voices and stretch their bodies: Crouch low for low notes. Stretch up high for high notes.
- Encourage focus on smooth voice transitions as the "roller coaster" moves.
- To reinforce pitch visually, add body movements: When your finger moves up, students stretch tall while singing high. When your finger moves down, students crouch while singing low.
- Use varied patterns: loops, waves, zigzags, or slow rises and falls.
- Ask volunteers to “paint the air” with their fingers while the rest of the class follows with their voices and bodies.
- Encourage creativity by asking students to make their roller coaster go high, low, wavy, or in a zigzag.
- Rotate through several volunteers, giving everyone a chance to lead.
- Ask: “How did you know when to sing high and when to sing low?” and “What was your favourite roller coaster movement?”
- This engaging activity helps students connect pitch to physical movement while developing vocal control and creativity. It provides a fun, interactive way to explore high and low sounds.
Suggested lessons
Y1. Beat II

Y1. Beat III

Y1. Beat IV

