Prep. Lesson 12. High & low sounds
- Woodblock Difficulty:
 Prior learning: None
![]() Students will learn to follow the melodic contour by using hand movements to represent high, low, and middle sounds while singing.
Students will learn to follow the melodic contour by using hand movements to represent high, low, and middle sounds while singing.
![]() Lyrics
Lyrics
I can sing high. I can sing low.
Now I'm in the middle, and I don't know where to go.
My voice goes here!
- Explain to students that they will learn a new song and use hand movements to follow the direction of the sounds.
- Let the students know that raising their hand will show high sounds, lowering their hand will show low sounds, and keeping it in the middle will represent sounds in between.
- Sing the song to the class gently, line by line. Demonstrate the hand movements. Raise your arm high when the melody is high. Lower your arm down when the melody is low. Keep your arm in the middle for the line "Now I'm in the middle, and I don't know where to go."
- Have the students imitate your actions with their hands as they listen.
- Once the students are familiar with the hand movements, ask them to join in singing while matching their hand positions to the melody's contour.
- Guide them to raise, lower, or hold their hands in the middle based on the pitch.
- Sing the song several times, allowing the students to become more confident in following the melody with their hand movements.
- Select individual students to come to the front and follow your hand movements. The rest of the class should sing and move their hands accordingly.
- Rotate through different students, giving each a turn to practice leading the hand movements.
- Repeat the song as often as time permits, allowing all students to practice matching their movements to the melodic contour.
 Success Criteria
- I can match my hand movements to the melody, raising for high sounds, lowering for low sounds, and staying in the middle when needed.
- I can follow the pitch changes while singing the song.
- I can demonstrate the melodic contour when leading the class.
- I can participate actively and adjust my movements based on the melody's direction.

![]() Students will learn to explore pitch and dynamics by adjusting their voices and using continuous arm movements.
Students will learn to explore pitch and dynamics by adjusting their voices and using continuous arm movements.
![]() Lyrics
Lyrics
Roly Poly, Roly Poly, up, up, up.
Roly Poly, Roly Poly, down, down, down.
Roly Poly, Roly Poly, out, out, out.
Roly Poly, Roly Poly, in, in, in.

- Speak the rhyme slowly, using a measured cadence to keep a steady beat.
- Raise your arms up while increasing the pitch of your voice.
- Lower your arms down while decreasing the pitch of your voice.
- Move your arms out while making your voice louder.
- Move your arms in while making your voice softer.
- Emphasise that the movements should never stop and should follow a smooth, continuous pattern.
- Speak the first half of the rhyme with the class, gradually raising the pitch of your voice as you move your arms up and lowering it as you bring your arms down.
- Have the students imitate your arm movements and match their voices to the rising and falling pitch.
- For the second half of the rhyme, increase the volume of your voice as you move your arms out and soften it as you move your arms in.
- Guide the students to match your arm movements and adjust their voice volume accordingly.
- Practice the entire rhyme from start to finish, using both pitch changes (up and down) and dynamic changes (louder and softer).
- Repeat several times, allowing the students to become comfortable with the transitions and movements.
 Success Criteria
- I can change my voice pitch to match the arm movements going up and down.
- I can adjust my volume to be louder when my arms move out and softer when they move in.
- I can keep a steady beat and move my arms in a smooth, continuous motion.
- I can participate actively and match my voice to both the pitch and dynamic changes.
![]() Students identify high and low sounds by listening to notes and using corresponding physical movements to reinforce their understanding of pitch differences.
Students identify high and low sounds by listening to notes and using corresponding physical movements to reinforce their understanding of pitch differences.


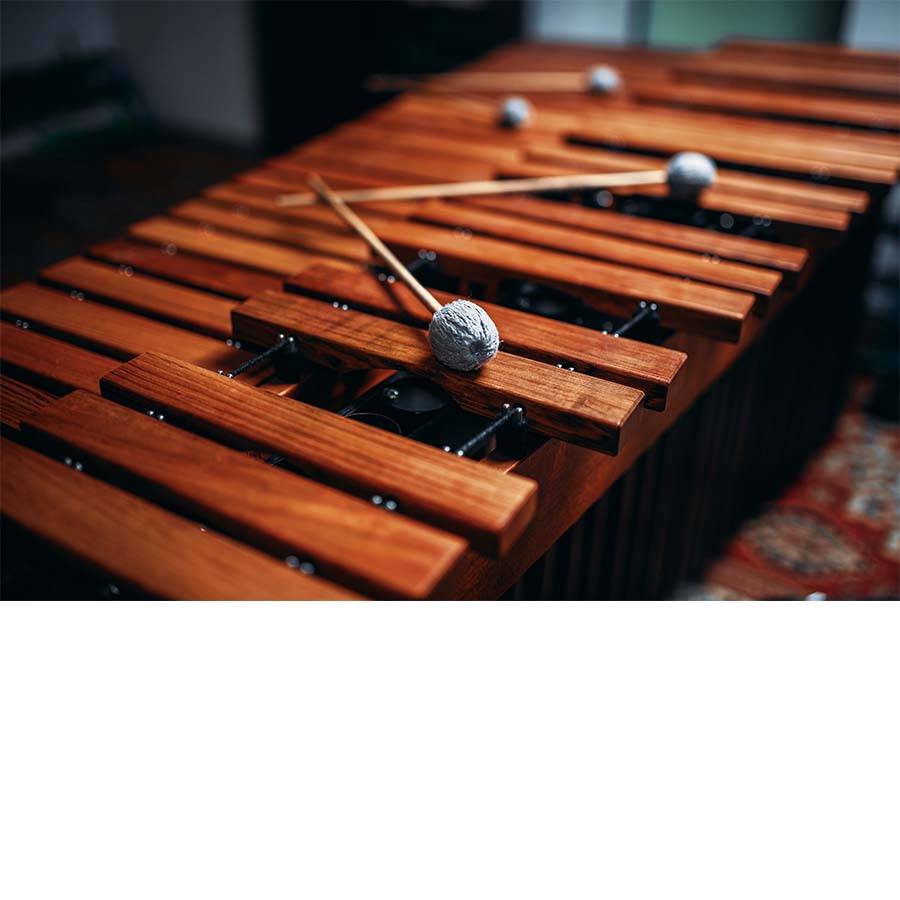
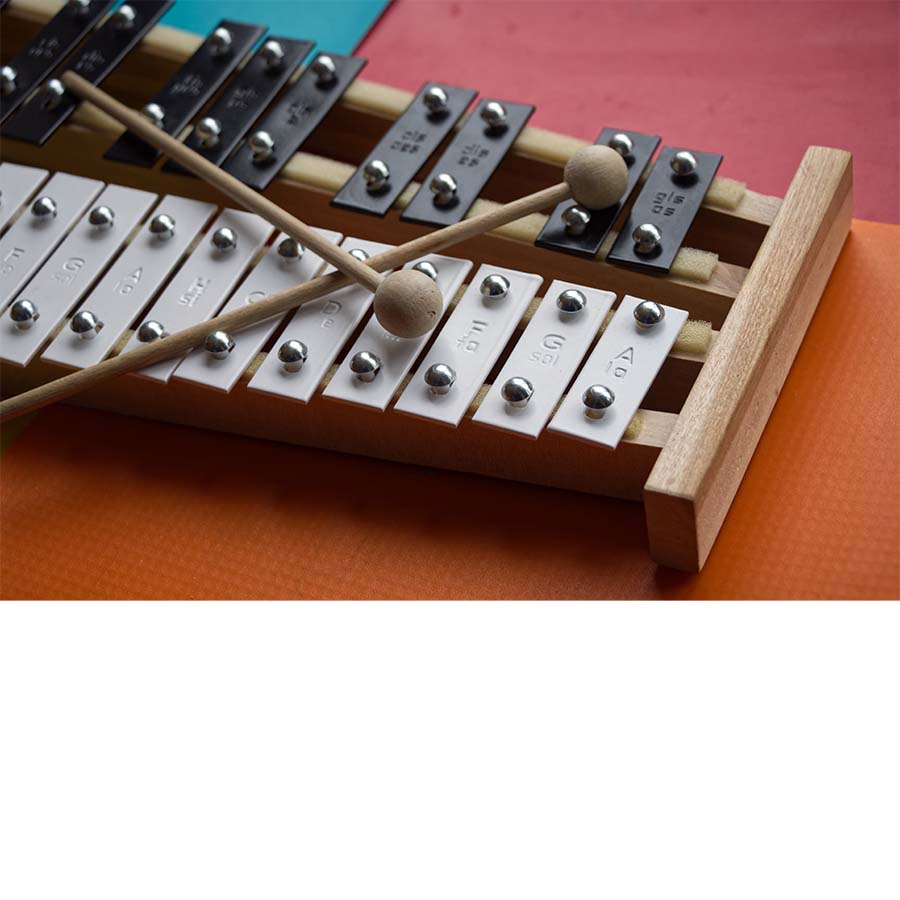
- Bring a student to the front and give them a xylophone, glockenspiel, or another tuned percussion instrument.
- Guide them to play a low note followed by an octave higher note to demonstrate the contrast between high and low sounds.
- After the student plays both notes, ask the class to identify which note was low and which was high. This helps them start listening for pitch differences.
- Repeat the activity with a new student playing high and low notes.
- Instruct the rest of the class to crouch down for low sounds and stretch up high for high sounds to represent each pitch physically.
- Show the class how to represent high and low sounds with arm movements. For high sounds, they touch their heads. For low sounds, they touch their shoulders.
- Practice this movement together with different high and low notes to help solidify the connection between pitch and movement.
- Repeat the activity, allowing each student to identify the pitch using crouching/stretching or head/shoulder movements.
- Continue with additional students as time allows, having them play the instrument and leading the class in recognising high and low sounds.
 Success Criteria
- I can identify high and low sounds by listening to notes played on an instrument.
- I can crouch for low sounds and stretch up for high sounds.
- I can use arm movements to show high and low pitches by touching my head for high and my shoulders for low.
- I can actively participate in identifying pitch differences, following the cues for high and low sounds.
![]() Students will learn to coordinate finger movements with a rhyme to develop fine motor skills and beat awareness.
Students will learn to coordinate finger movements with a rhyme to develop fine motor skills and beat awareness.
![]() Lyrics
Lyrics
Ten galloping horses,
Rode through the town.
Five were white. Five were brown.
They galloped up, they galloped down,
Ten galloping horses rode through the town.
 Success Criteria
- I can move my hands to represent the galloping horses in the rhyme.
- I can keep a steady beat while saying the rhyme and doing the actions.
- I can use my imagination to make the fingerplay more expressive.
- I can follow along with the movements and participate actively.
- Demonstrate the rhyme, speaking in a measured cadence.
- Ten Galloping Horses is a fun, engaging finger-play rhyme that helps children develop their fine motor skills and imagination.
- Begin by holding up both hands, with fingers spread apart, representing the ten galloping horses.
- As you say the line "Ten galloping horses," move your hands up and down, mimicking the horses galloping. Keep a lively pace to create excitement.
- For the line "Rode through the town," move your hands from one side to the other as if the horses travel across a landscape. You can also make your fingers wiggle to show the horses' movement.
- When you say, "Five were white," hold up one hand with all five fingers extended and wiggle them to represent the white horses.
- For the line "Five were brown," do the same with your other hand, wiggling all five fingers to represent the brown horses.
- As you recite "They galloped up, they galloped down," move your hands up and down again, just like in step 2, to show the horses galloping.
- For the final line, "Ten galloping horses rode through the town," repeat the actions from step 3, moving your hands from side to side and wiggling your fingers to show the horses travelling.
- As with Ten Little Soldiers, Ten Galloping Horses is a good fingerplay exercise for developing language abilities (rhyme) and dexterity as students gain proficiency in moving their hands and fingers.
- This exercise and other similar fingerplays can help with the instrumental techniques for the recorder, ukulele, etc.
![]()
Students will learn to coordinate their movements with the beat and explore high and low sounds. They will use interactive, expressive movement.
 Success Criteria
- I can sing while moving my arms to reflect the high and low pitches.
- I can maintain a steady beat while coordinating my movements with the melody.
- Sing "See Saw" once through, demonstrating the arm movements:
- High pitch: Arms are extended at a 90-degree angle away from the body.
- Low pitch: Arms are pulled in closer to the body.
- Emphasise that students should move their arms in time with the beat.
- Have the students sing along with you, mimicking the arm movements.
- Instruct them to raise their arms at 90 degrees for the high notes and bring them close to their body for the low notes.
- Guide them to keep a steady beat as they move their arms, practising coordination between the pitch and beat.
![]() Students recognise and explore the concept of high and low in this animation featuring Zak and Zoe.
Students recognise and explore the concept of high and low in this animation featuring Zak and Zoe.
Suggested lessons
Y1. Beat II

Y1. Beat III

Y1. Beat IV

